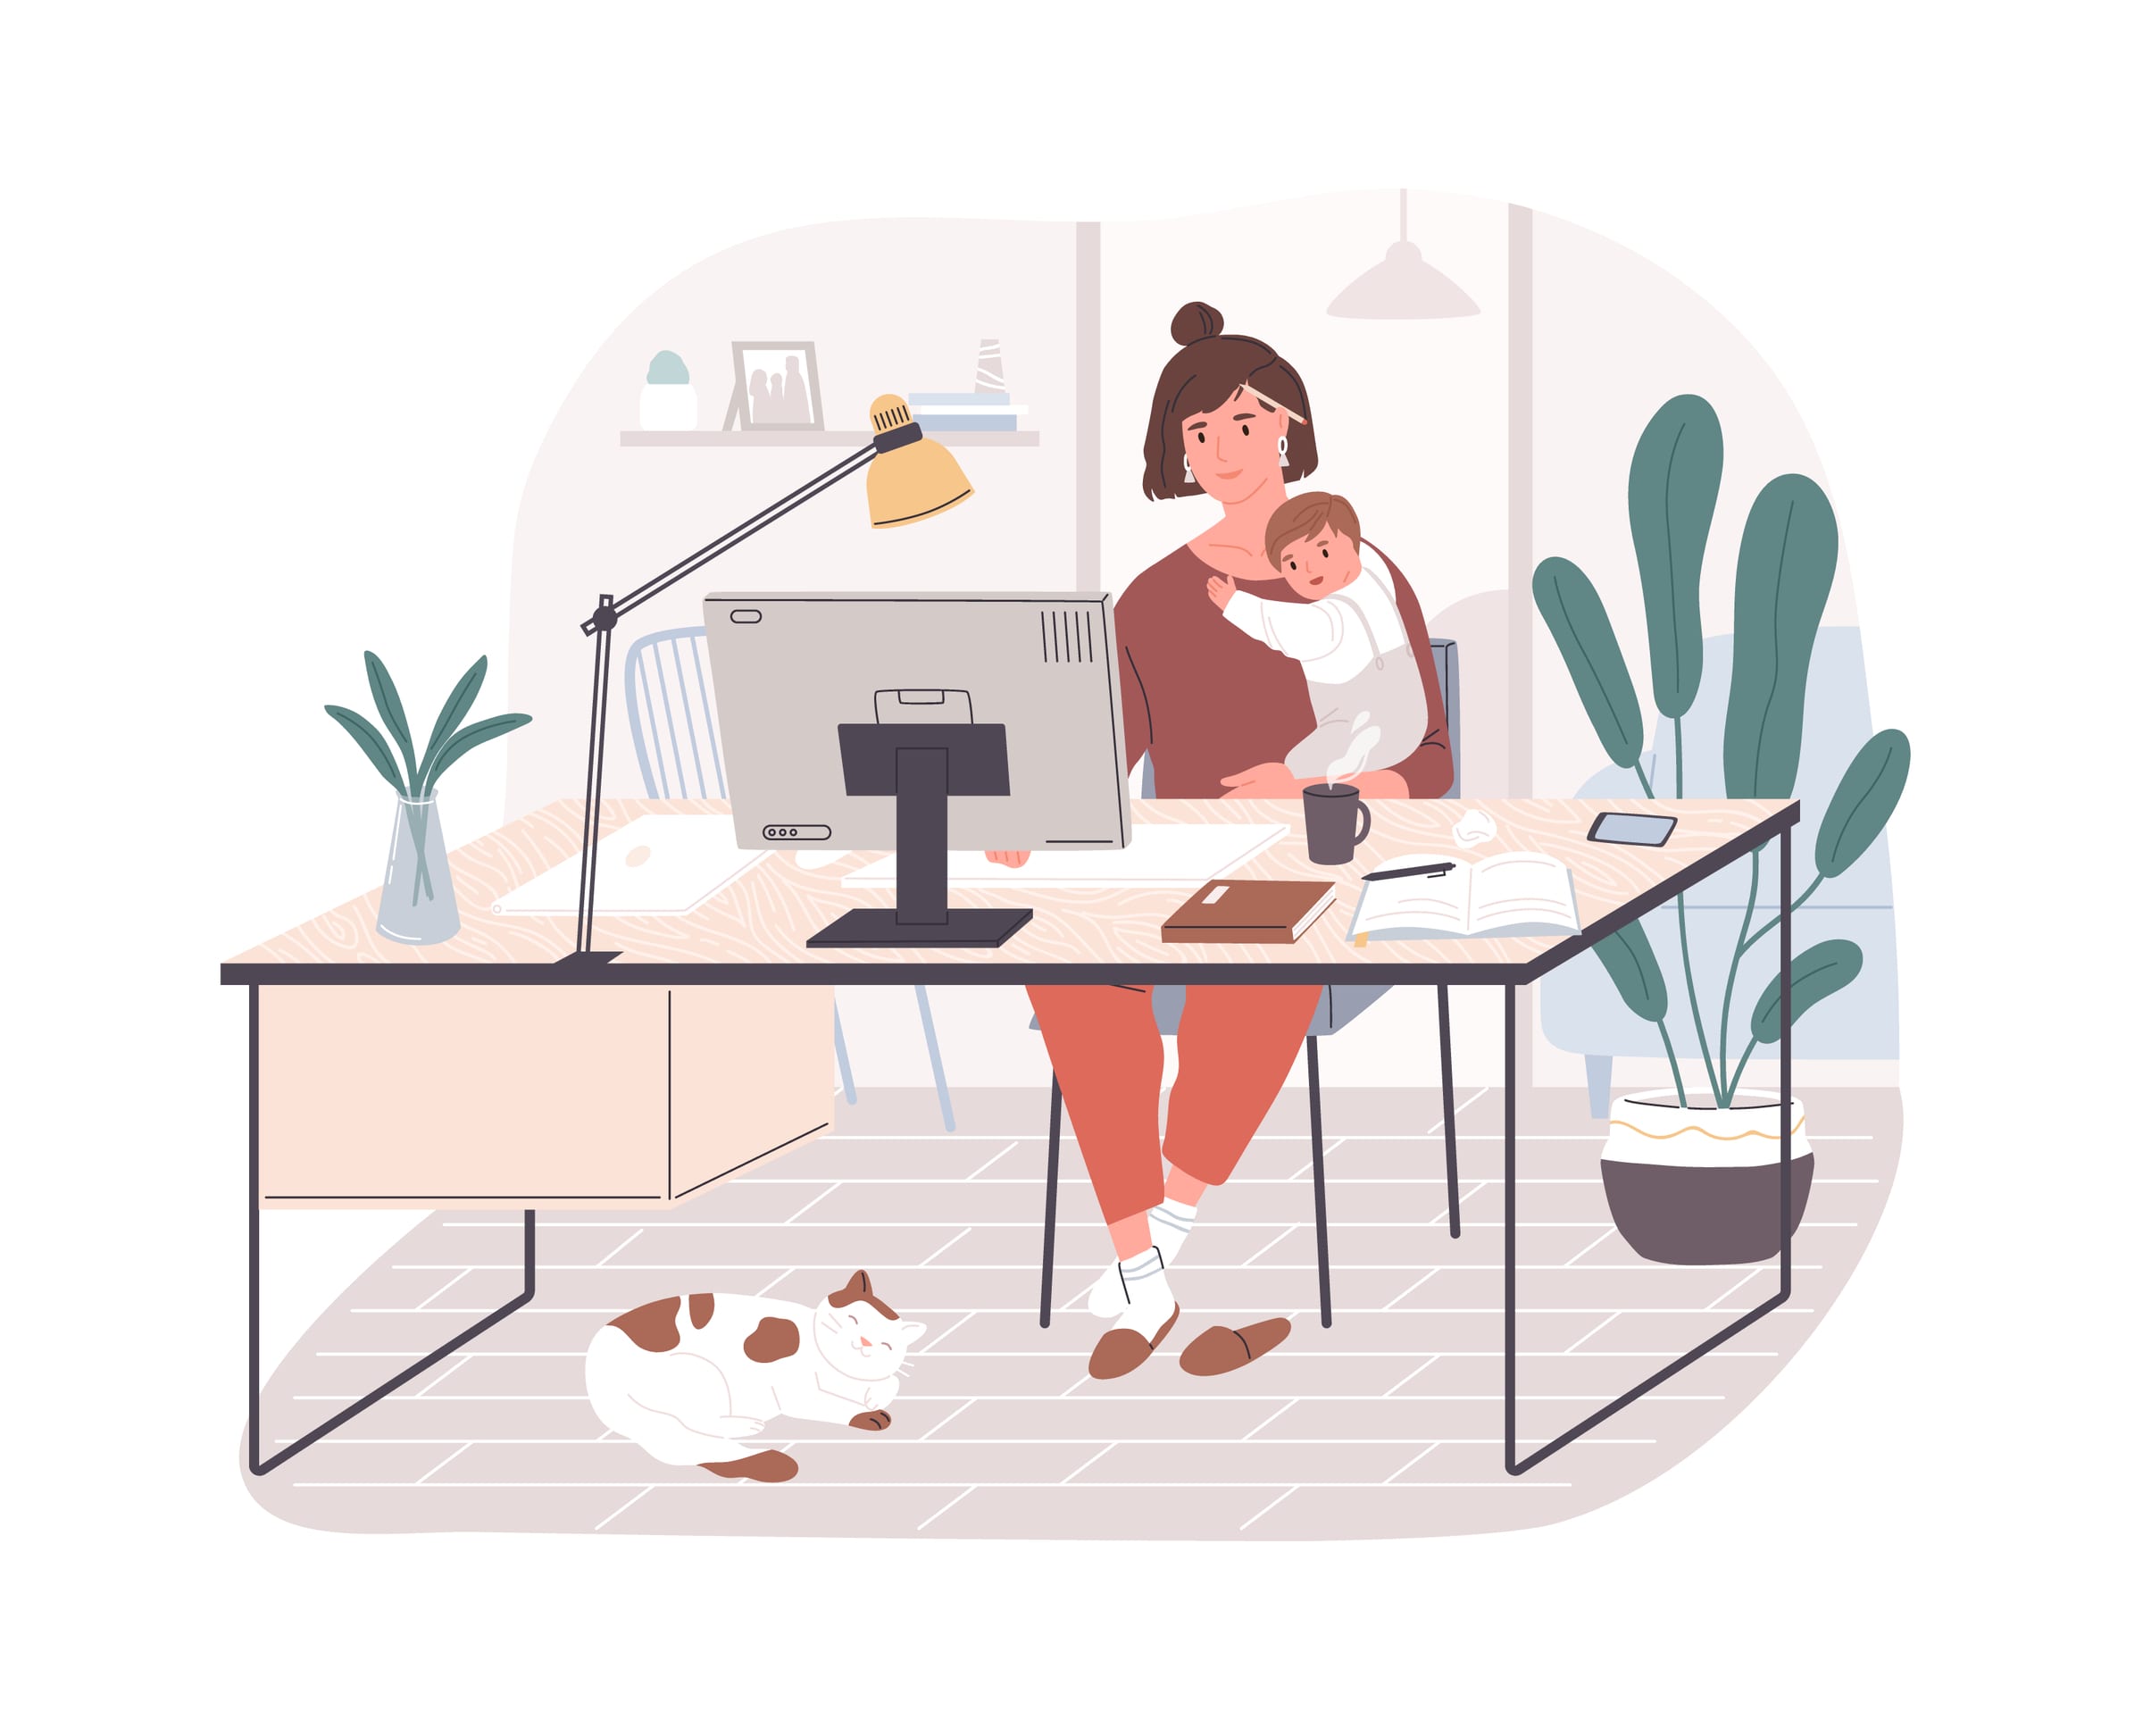
For many of us, working from home has become the new norm in 2020. Since COVID-19 closed workplaces around the country, we’ve been faced with completely new challenges about how to balance childcare and work, how to maintain some semblance of work-life balance, and you know, how to stay sane through it all. On top of all that, doing this from a makeshift work from the home desk is, literally, a pain in the neck.
“A kitchen table turned desk, couch — or worse, bed — are not designed for laptop work. We’re straining our muscles to make it work,” says Vanessa Chu, co-founder and COO of Stretch*d, a virtual stretching studio based in New York.
There two main problems caused by sitting in compromised positions for hours on end, Chu says. Firstly, hunching your neck and shoulders over a laptop screen, or sitting in a chair without proper back support can make muscles stiff and sore. Think: Tight hips, or a serious case of tech neck, the term coined to describe stress on the cervical spine (aka the neck) caused by hunching forward to look at a screen that’s not at eye level. Your head is 10-12 pounds on average, so all that Insta scrolling is literally weighing on you. Hunching over your desk for eight hours a day can cause tension in your neck and shoulders as well as upper back pain and headaches.
On top of the risk of tech neck and tightness, “the bedroom to kitchen shuffle is not quite enough daily movement for your body,” adds Chu. “Your body needs to be in motion to receive consistent fresh blood flow to the joints and muscles to keep them healthy and mobile.”
Add those two things together and it’s no wonder you feel like you’ve been hit by a truck every time you stand up to take a bathroom break. Try these expert tips on making your work from home setup more comfortable.

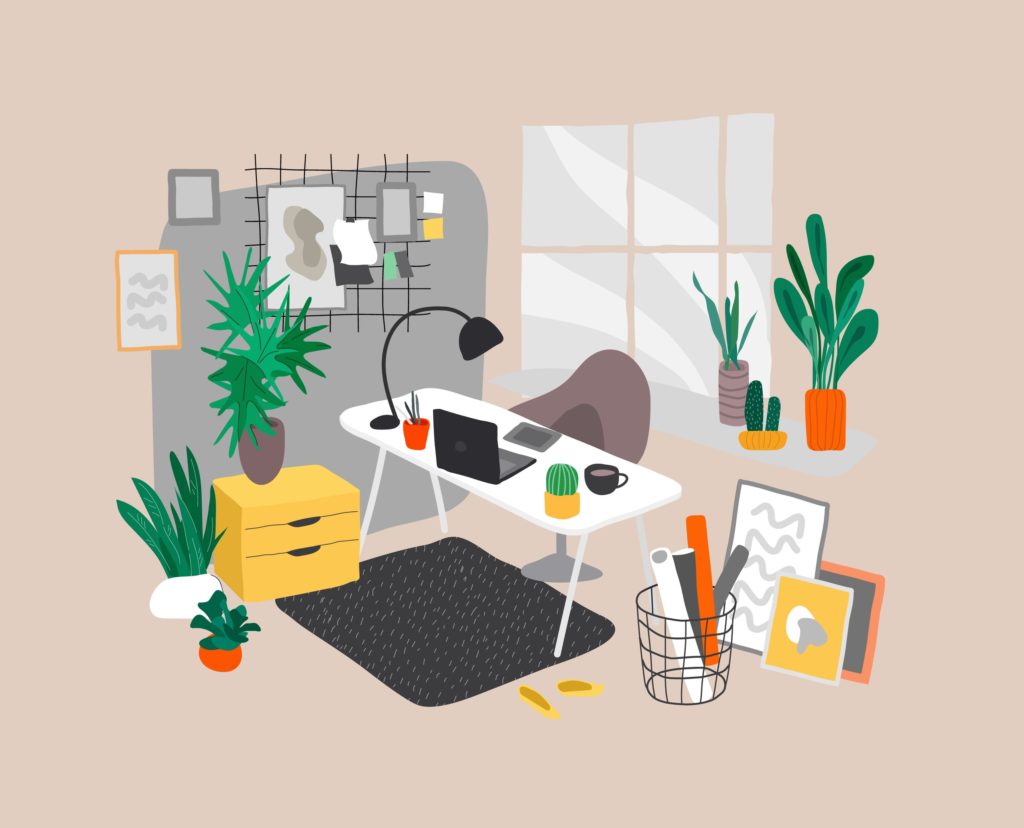
The Ideal Work from Home Desk
The ideal work from the home setup is one that’s ergonomic — aka specifically designed to keep your body in a comfortable position for hours on end.
Here’s how to make it happen:
Chair
There’s a reason desk chairs are different from dining chairs — the former is designed to support your spinal curves, according to the Mayo Clinic. That means no lower back pain mid-way through your day or numb glutes from sitting on a stiff wooden seat all day.
If you can’t get an office chair at home, you can invest in a specially-designed chair pad or put a pillow on the seat for more cushion.
Desk
The ideal desk should have enough clearance that your knees and thighs can fit comfortably underneath it when your legs are bent and feet are flat on the floor (sorry, that rules out your coffee table). If your work surface is too low, try boosting it up with sturdy yoga blocks.
Screen
This is one of the most important, and easy to control, aspects of your desk setup. The ideal WFH space includes a separate monitor — not just your laptop screen (more on why in a minute) — that sits an arm’s length away. The height is really the key. The top of your screen should be at or slightly below eye level, per the Mayo Clinic, to prevent neck and shoulder pain.
Keyboard
Your keyboard, mouse, and any other objects you reach for frequently, should sit at or slightly below the level of your elbows. When you type, your wrists should be able to rest straight.
This is why it’s helpful if you’re working from a laptop, to have either an independent monitor or an independent keyboard. This way, you can ensure your screen and your keyboard are both at the right level for your body.
Footrest
Your feet should be able to rest flat on the floor when you’re sitting at your desk. If you’re working at a higher surface like a kitchen island or counter, place a footrest (or a stack of books) under your chair so your feet aren’t dangling.
5 Ways to Make Your WFH Setup More Ergonomic
Okay, but what if your living situation doesn’t allow for a full-blow desk setup? Plenty of people have spent the past several months working on the couch and have the back pain to prove it. If you can’t achieve the ergonomic setup above, there are still things you can do to make your work station a little friendlier to your body.

-
Have proper back support.
If you can’t sit in a chair, your couch is a more ergonomic option than your bed. Just make sure to give yourself some back support by propping pillows or cushions behind you so that you’re sitting up straight — not slouching backward or leaning forward towards your computer.
-
Buy a chair cushion.
If you’re working from a dining chair (no shame — office chairs are bulky and expensive) you can make your seat more comfortable by investing in a cushion that will make parking it for 8 hours more bearable. For more back support, look for a lumbar cushion.
-
Prop up your screen.
Having your screen at eye level can be a complete game-changer — if you do only one thing to upgrade your work from home setup, make it this. Invest in a laptop stand, or simply use a stack of books to raise your screen to eye level.
-
Get a separate keyboard.
Raising your laptop screen to eye level means your keyboard will probably be too high to comfortably use. A wireless keyboard ensures you can sit with the proper form: shoulders back, neck straight, elbows tucked in towards your sides and wrists straight.
-
Take stretching breaks.
A sub-par desk setup can be made significantly better by stretching. “Stretching helps lengthen muscles, keeping them loose and more productive,” Chu says.
Stretching Tips
We asked Chu for dynamic stretches you can do throughout the day to help counteract the effects of tech neck, back pain, and tight hips. “This type of stretching is both a warm-up and a cool down in of itself,” she explains. “The movement-based action helps increase blood flow throughout the body and also flushes out stagnant fluids and other toxins that make aches and pains worse.”
Do these four stretches twice a day to keep your body feeling limber.
-
Yes, No and Maybe Neck Stretches
Start with the “yes” neck stretch. Keep your back straight and bring your hands behind your head to the top of your spine. Bend your head forward as if nodding your head “yes.” Hold for two seconds, return to neutral, repeat 10 times.
For the “no” neck stretch, start by placing your right fingers on your left cheek, back straight. Using your hand, gently rotate your chin to meet your right shoulder. Hold for two seconds, return to neutral, repeat 10 times on each side.
Finish off with the “maybe” neck stretch to help relieve any final tension. Place your right head with your fingers resting near your left ear. Gently pull your head down towards your right shoulder. Hold for two seconds, return to neutral, repeat 10 times on each side.
-
Twist & Dipp*r Lower Back Stretch
In a seated position, back straight, place your hands behind your head. Twist as far as you can in one direction and drop your front elbow towards your knee. Hold for two seconds, return to neutral, repeat 10 times on each side.
-
Chest Open*r Pectoral Stretch
Sitting up straight, start with your arms stretched out in front of you at shoulder height, palms facing each other. Swing both of your arms back and upwards. Hold for two seconds, return to neutral, repeat 10 times.
-
Twist*d Triangle Hip Stretch
Sitting in your chair, sit with one foot resting on the opposite knee. Use your hand to gently push your knee towards the floor. Hold for two seconds, return to neutral, repeat 10 times on each side.
We only recommend products we have independently researched, tested, and loved. If you purchase a product found through our links, Sunday Edit may earn an affiliate commission.


