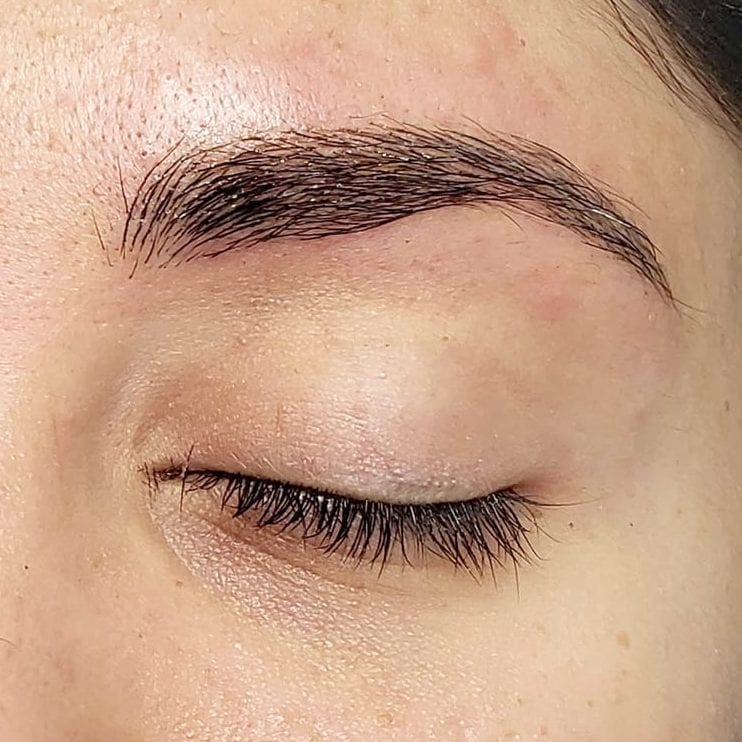
One of the best ways to achieve dark, brushy brows without microblading is to opt for a more temporary, in-salon service, such as eyebrow tinting. With pigmented brows in style, professional eyebrow tinting has become one of the most popular salon services to pair with waxing and threading. However, if you’re on a tighter budget, paying for the add-on every 3 to 6 weeks might not be feasible. Fortunately, eyebrow tinting just so happens to be one of the easiest beauty services to try at home (and it isn’t nearly as scary as waxing your hair off). Here’s how to get salon-worthy brows at home, according to the experts.
How to Choose the Best Eyebrow Tint
“There are many great eyebrow tint brands out there with different formulas, consistencies, and results,” says Tawni Bayliss, an eyebrow tint expert and owner of Wildcat Wax in L.A. According to Bayliss, a standard brow tint will last on the skin for a couple of days and up to 2 weeks on the hairs. “For a longer-lasting and richer result, consider using a hybrid tint, which will last 2 weeks on the skin and up to 6 weeks on the hairs,” she says.
According to Ramy Gafni, an eyebrow expert and owner of RAMY Cosmetics, the number one mistake people make when tinting eyebrows at home is choosing a color that is too dark. “People with light blonde or gray hair should opt for a shade that’s one or two shades darker than their eyebrow hair color,” says Gafni. “Everyone else [with brown eyebrows] should follow the two shades lighter than your brow color rule,” she adds.
Meet the Experts
Tawni Bayliss is an eyebrow tint expert and owner of Wildcat Wax in L.A.
Ramy Gafni is an eyebrow expert and owner of RAMY Cosmetics in N.Y.C.
For those with red hair, Bayliss says to use a light-medium brown tint with a touch of chestnut. “Mixing colors can help you achieve your most flattering shade,” she explains. If you’re unsure of how to choose your eyebrow tint color, Gafni recommends a more universally flattering neutral shade like light brown, which she says works well on everyone. Once you choose your eyebrow tint, you’ll also want to stock up on a few supplies. Bayliss recommends an angled brow brush as it “helps create crisp lines with control.” Also, you’ll want to grab a small dish to mix the tint with the developer. Bayliss also recommends disposable lip gloss applicators which “help clean up lines really well,” but cotton swabs also work well. “Cotton rounds are also handy for removing the tint at the end,” adds Bayliss.
While some eyebrow tint kits come with a developer, Bayliss says to double-check before purchasing. Should you need to buy the developer separately, she says to “use a three percent cream oxidant developer mixed to match a 1:1 ratio with the color.”
At-Home Eyebrow Tinting
Tinting your eyebrows at home might seem intimidating, but it’s actually quite simple. With a few techniques in your arsenal, you’ll have the bold brows of your dreams in under 15 minutes. Here’s how to tint your eyebrows at home.
Step 1: Clean Eyebrows
“Make sure your eyebrows are clean and dry,” says Gafni. This includes removing makeup from the brows. To clean your eyebrows before tinting, you can simply add some micellar water or a makeup remover to a cotton round and swipe your brows clean.
Step 2: Brush Your Brows
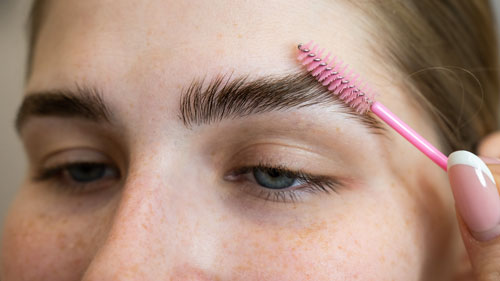
The next step is to “brush your brows upward and back” with a small brush, Gafni explains. For this step, Gafni says any brush will do, including a disposable mascara wand (or an angled brush like Bayliss suggests).
Step 3: Apply Petroleum Jelly
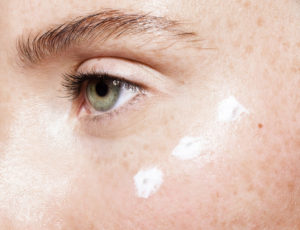
According to Gafni, eyebrow tint will wash off the skin easily but, if you want to avoid the issue altogether, you can apply a thin layer of petroleum jelly around the brows (similar to what you would do to your hairline when doing a DIY dye job). “Be sure not to get the petroleum jelly on your brow hairs,” Gafni warns since this will prevent color from sticking. If you don’t wish to use petroleum jelly, Bayliss says to make sure you clean up mistakes right away so it doesn’t stain the skin. “Tint remover or coconut oil will be your best friend in case of any set-in mistakes,” she adds.
Step 4: Mix Tint & Apply
Once your brows are brushed and your skin is protected, Gafni says to mix the color and activator in a small cup and apply it to your brows using a cotton swab. For more natural-looking results, “begin applying tint toward the body and tail of the brow, leaving the front for last,” says Bayliss. “The goal here is to create a gradient effect with the front being the lightest and tail the darkest,” she adds.
Step 4: Wait for Color to Develop
Depending on the instructions on your brow tint box, you’ll want to wait between 5 to 10 minutes and then “wipe the dye off with a moistened cotton round or paper towel,” says Gafni.
Precautions
According to Bayliss, tinting is generally a safe beauty treatment you can achieve at home. However, there are some important precautions to consider before adding pigment to your brows. “For those with sensitive skin, patch test the mixture behind the ear 24 hours before application to see if irritation occurs,” Bayliss explains.
Additionally, Gafni warns against bleaching of any kind. “Bleaching is not the same as tinting — it may burn your skin, damage your brow hairs, and is more difficult to grow out,” she explains. Gafni also recommends not leaving the eyebrow dye on for too long since the longer it’s left on, the darker the color will appear. “Also, if you’re tinting to cover gray hairs, don’t just tint the gray hairs; tint the entire brow,” she adds. “When you tint the entire brow, the whole eyebrow looks a little fuller and the look will also be more uniform.”
Post-Tint Care
Caring for your brows post-tint is just as important as choosing the right color and following application instructions. Typically, eyebrow tint can last anywhere between 3 to 6 weeks. To extend the life of your eyebrow tint, Bayliss says to “avoid over-cleansing or using makeup removing products on the brows to help maintain results.”
To give your brows a little color boost in between tinting, a tinted eyebrow gel — such as Glossier Boy Brow or Kimiko The Brow Sensei — can do the trick. You can also use a clear gel (we love Saie Brow Butter!) to style your brows without adding pigment.
We only recommend products we have independently researched, tested, and loved. If you purchase a product found through our links, Sunday Edit may earn an affiliate commission.
