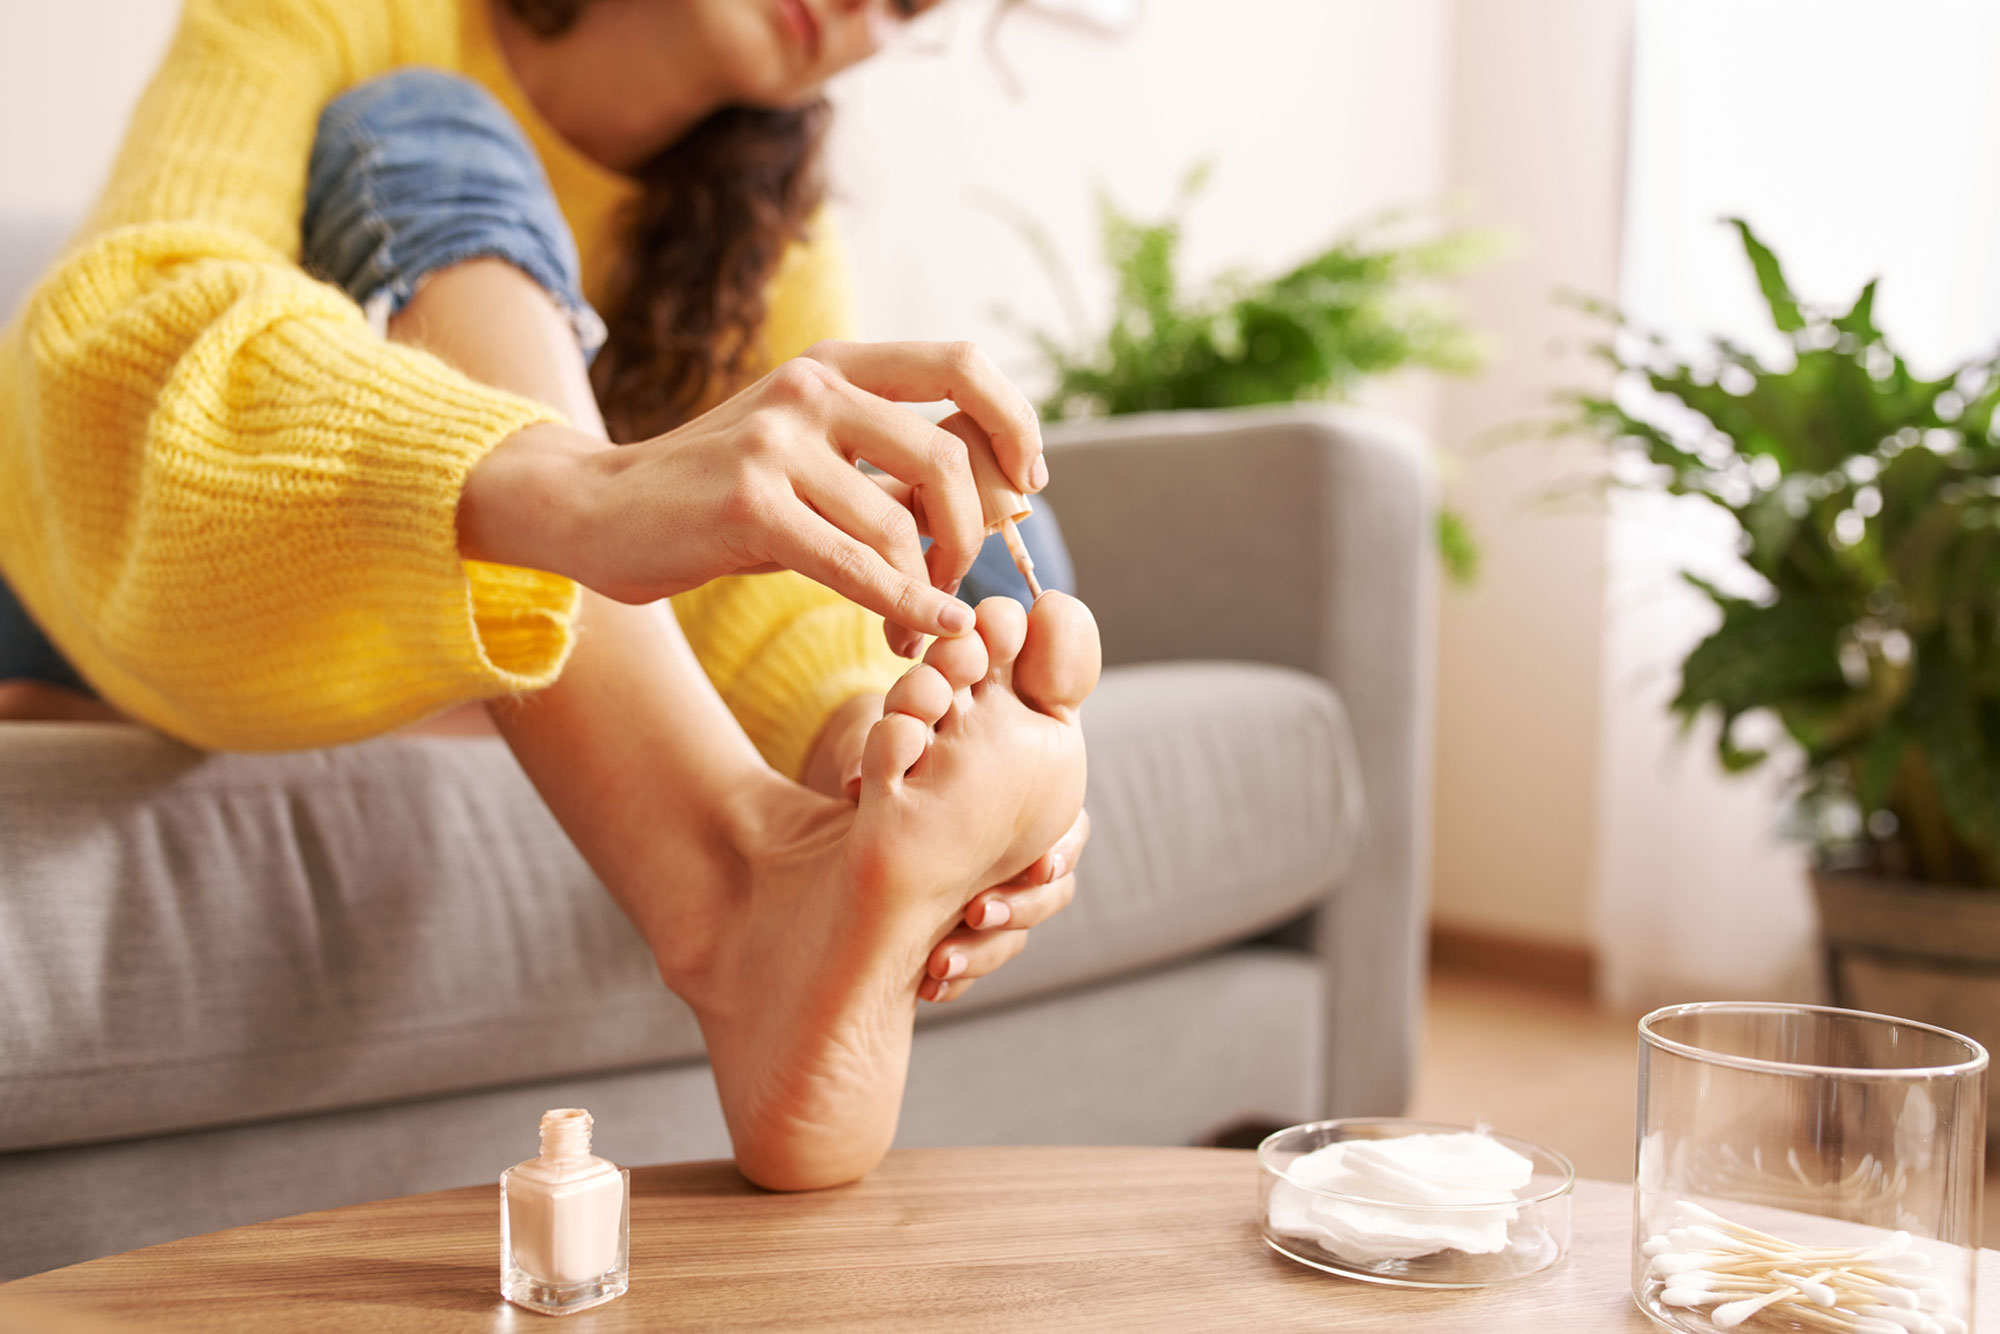
When we think of pedicures, we think of pristine and trendy nail salons, dotted with rows of massage chairs and tiny bottles of polish shelved along the walls. And, although pedicures have become a modern-day necessity for some, the practice actually dates back to Ancient Egypt, when pharaohs received foot treatments to get rid of dry skin on the soles. This practice has transformed through the ages and now includes a nail polish change — along with a few other steps — for fresh looking feet.
Looks aren’t the only reason to indulge in regular pedicures — they actually have health benefits, too. “Health benefits of pedicures include reduction of ingrown toenails, fewer calluses, less foot pain, softer skin on the feet, fewer cracks in the heels, and less dry skin,” says board-certified podiatrist Bruce Pinker, DPM, AACFAS, FAPWCA, DABPM, FACPM.
Here’s how to give yourself a salon-worthy pedicure, according to the experts.
Tools for At-Home Pedicures
Before transforming your bathroom into a nail salon, you’ll want to do an inventory check on your supplies, and stock up on some must-haves.
While soaking your feet isn’t necessary (more on that in a bit!), those who wish to give their soles a nice soak will want to invest in a foot tub or bowl. “It can be as easy as finding a Tupperware container from Target for $5 or a spiffy $200 stainless steel pedicure bowl,” says Chris Cabrera, founder of Naturally London, a botanical-based foot and hand care brand.
Carera also recommends a foot file with two grits — one for exfoliating and the other for smoothing the skin. “Other tools needed are toenail clippers, stainless steel cuticle pusher, and a glass nail file,” she explains.
An Expert-Approved Guide
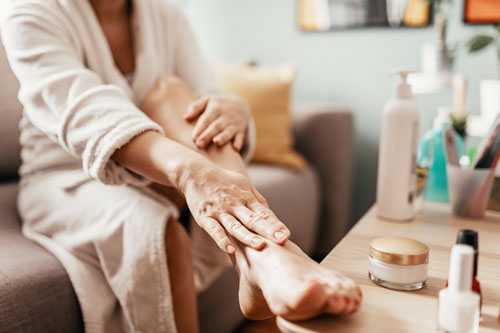
The first step to giving yourself an at-home pedicure is deciding whether or not you want to soak your feet. “There is no right or wrong answer,” says Cabrera. If you do decide to soak your feet, you’ll want to wait to plunge your soles, as Cabrera recommends first dry filing your feet in a few important spots, including “the places where we mainly have built-up dead skin, which is our outer big toe, heel, and maybe the pinky toe area.” She recommends gently filing the skin with the exfoliating side of a foot file and finishing it off with a few strokes of the smoother side. If soaking is preferred, Cabrera says to do this step next. “For best results, you want to soak your feet for a minimum of 15 minutes,” she explains. For those who don’t wish to soak, simply give your soles a quick rinse in the shower.
Once you soak or rinse, you’ll want to treat your toenails to a trim. “It is recommended to cut the toenails straight across, as cutting into the corners can lead to bleeding, pain, and possible infections,” says Dr. Pinker.
Next, it’s time for exfoliation. For this step, you can reach for a pre-made exfoliating scrub — either salt or sugar based — or make your own by mixing ¼ cup of coconut oil with ½ cup of sugar (for added aroma, add a few drops of your favorite essential oil to the mix). Cabrera says to be mindful of the tops of your feet, since the heels and soles see a more invigorating exfoliation with the foot file.
Meet the Experts
Bruce Pinker , DPM, AACFAS, FAPWCA, DABPM, FACPM, is a board-certified podiatrist.
Chris Cabrera is the founder of Naturally London, a botanical-based foot and hand care brand.
With the toenails shorter and dry skin less abundant, Dr. Pinker recommends applying an antiseptic such as rubbing alcohol — which you can add to a spray bottle and gently spritz on — to keep things clean and prevent infection.
“After dry filing, cleansing, [trimming nails], and exfoliating, the final step is moisturizing,” says Cabrera. “I recommend double moisturizing your feet, which is now being called ‘slugging’ on TikTok,” she adds. Double moisturizing — aka slugging — means you apply an oil or cream followed by a butter or balm. “The most important part of this method is that your butter or balm doesn’t have water as the main ingredient,” Cabrera notes, adding that balm and butter products without water as the main ingredient lock in hydration better. After applying moisturizer, Dr. Pinker recommends utilizing a massage roller, which “can be beneficial for one’s feet to help reduce soreness and stretch ligaments and tendons.”
When finished with your at-home pedicure, Cabrera says you can maintain your results “by moisturizing your feet each night with the double moisturizing method.” She also recommends wearing socks at night, and says that wearing socks after moisturizing is a habit of top foot models to keep skin looking well-nourished and moisturized.
DIY Pedicure Precautions
Achieving a salon-worthy pedicure at home is entirely possible with the right practices in place. However, there are some important precautions to consider around exfoliating the feet.
“When exfoliating your feet, be cautious not to remove too much skin at once because you can create sensitive spots on your feet, making them vulnerable to blisters and pain spots,” says Cabrera. She says if any of your pedicure tools resemble a cheese grater or potato peel to throw them out immediately and get something that is more like a file. “Our feet ground us and absorb our weight, which means we need to keep in mind the skin at the bottom of the feet is special — if we take away too much, too fast, it can have a negative [and painful] effect.”
Now that you have a little at-home salon set-up, you’ll also want to consider the frequency in which you treat your soles to a good scrub. “Most individuals can benefit from an at-home pedicure every three to four weeks,” says Dr. Pinker. “For those whose toenails grow at a faster rate, perhaps every two weeks is appropriate,” he adds.
