Many of us have broken away from some of our old hustle culture habits and begun to rethink what it means to give ourselves a break (or, breaks). And, we could benefit from doing the same with our beauty routines — specifically when it comes to heat styling our hair. No matter what your hair goals are, allowing strands to air dry vs. blow drying or heat styling them every once in a while, is a way to help prevent damage even preserve color.
That being said, the woes of air-drying can be annoying to deal with (we’re looking at you, frizz!), resulting in some bad hair days. But, there are ways to prevent them when letting your hair dry without assistance. Up ahead, we tap an expert to find out top tips for air-drying hair, including how to get rid of frizz.
The Benefits of Air-Drying vs. Blow Drying
Blow-drying hair can speed up dry time while styling strands, but it’s not always the best drying option — especially if you’re focused on preventing damage. “There is no damage if you air dry vs. blow-drying the hair,” explains Trey Gillen, hairstylist, and creative director of education at SACHAJUAN. “The heat from a blow dryer will fade your hair color and cause brassy tones to appear,” Gillen adds, noting that air-drying maintains color longer.

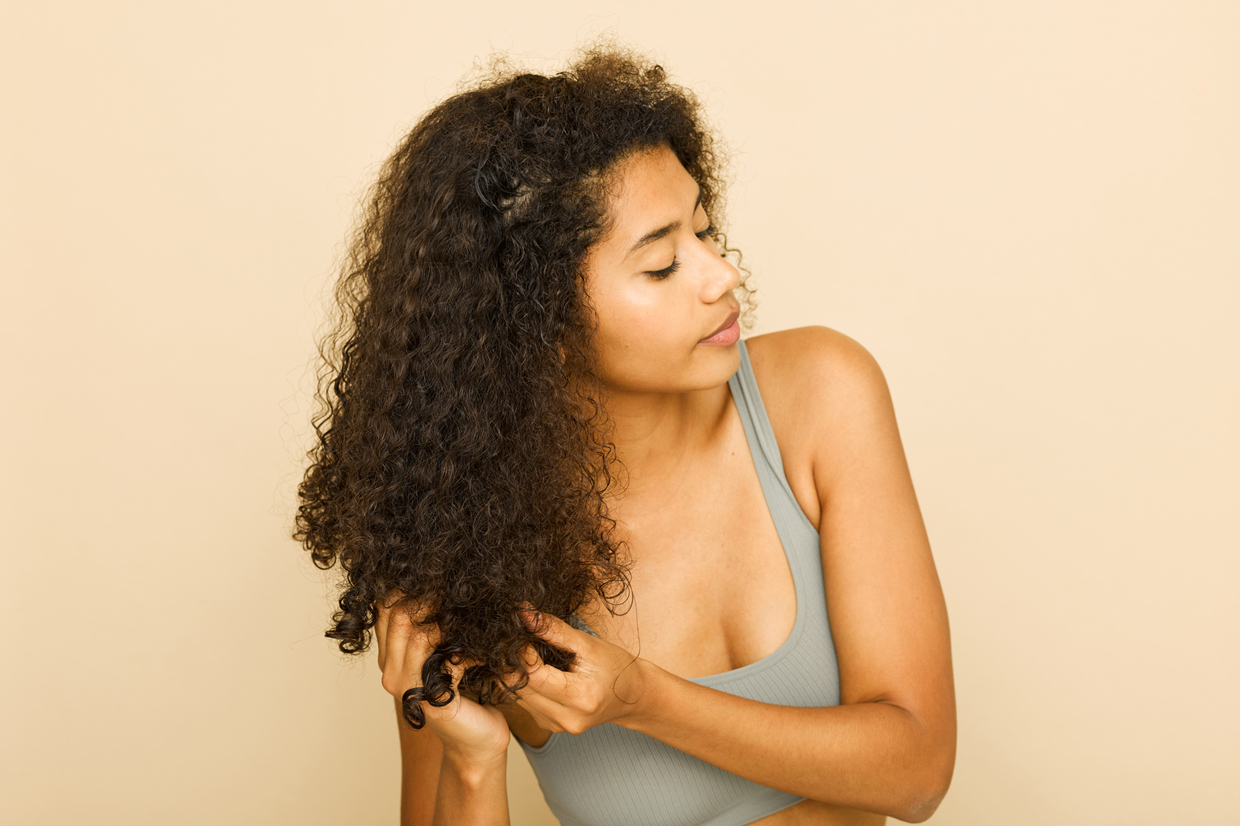
For those with curlier locks, trading in the blow dryer for air drying can “allow your natural texture to take center stage,” says Gillen, adding that not using a blow dryer “can help with keeping your curls from expanding and frizzing, too.”
Tips for Air-Drying Hair
Air-drying your hair is as simple as towel-drying strands and letting your hair do its thing. There are a few things you can do to prep your hair and ensure it dries soft and smooth. Here are some go-to tips for air-drying hair.
Avoid Terry Cloth: When it comes to towel-drying hair, Gillen says to “avoid terry cloth” and opt for something that absorbs moisture, such as a microfiber towel. And, if you have curls, “less friction is better,” says Gillen, noting how an old t-shirt can actually be a great option for curly hair as it doesn’t create as much friction (and, therefore, frizz).
Apply a leave-in conditioner: After you wash your hair and towel-dry strands, Gillen recommends applying a leave-in conditioner that focuses on hydration and anti-frizz. This will help ensure your ends stay nourished and help slick away from the frizz.

Try the Plopping Technique: According to Gillen, the plopping technique is a hairstyling method that promotes the enhancement of the strands’ natural shape and is a great air-drying technique for curly hair. This technique cuts out drying time “and also keeps the hair frizz-free.” It’s great for curly and natural hair types. Here’s how to give the plopping technique a try.
- Step One: The first step for hair plopping is to apply your “regular styling products” to freshly washed strands,” says Gillen, noting that your hair should be damp for this step. The products you use depend on your normal routine, but could be anything from a “curl-defining cream to a leave-in conditioner,” says Gillen. After applying the product, you’ll want to scrunch up your strands while ensuring “your curls of waves have soaked in the product,” Gillen explains. This step is all about prepping your hair to take shape.
- Step Two: The next step is to reach for a large cotton t-shirt and lay it down on a smooth, flat surface — this can be a bathroom counter, a bed, or a table. Gillen says to position the shirt so that the collar faces away from your head. Once the shirt is in position, you’ll bend toward the shirt and allow your strands to lower into the middle of the shirt. Do this step slowly as Gillen says you want to keep every strand in the center to prevent them from popping out once the shirt is wrapped around your head.
- Step Three: With your strands in place at the center of the shirt, the next step is to grab the sleeves and collar and fold the shirt over your head toward the neck. Once there, Gillen says to wrap them around the neck and secure it in place by tying a knot on your forehead or top of the hairline.
After you’ve gone through these steps, Gillen says it’s best to keep your hair plopped in the shirt for at least 20-30 minutes. And, when it is time for the removal process, Gillen says to take your time and a gentle approach as this will help keep the curls soft and defined.
@mzbiancarenee #ad How To #HairPlop Your Curls with #PanteneCompleteCurlCare #PantenePlop #PanteneNutrientBlends ♬ original sound – mzbiancarenee
Use correct products: “Product is your “disciplinarian” for unruly hair,” says Gillen. “If you air-dry textured hair, you must use the correct products to combat unwanted results.” This is important to consider for all hair types, including straight and fine hair types as products that are too heavy can weigh the hair down. With this in mind, Gillen says to make sure to use the correct products that are formulated for your texture type. For example, “curly hair uses products with tons of moisture,” says Gillen. Additionally, make sure to use the recommended amount of product. Too much product can also add to the weight and can even leave hair feeling greasy. The right amount of product depends on the formula and brand, so it’s best to always review the product’s packaging and make sure to not go overboard.

Brush and detangle: Before applying the product and air-drying hair, Gillen recommends brushing and detangling strands. This will help prepare your hair for air-drying and ensure that tangles are at bay. When brushing wet hair, you want to be ultra-careful. It’s best to reach for a wide-tooth comb to detangle or use a hairbrush that is specifically designed to be used in the shower or on wet hair.
Comb with your fingers: If you have curly hair, Gillen says coming with your fingers is a great technique to try. “Run your fingers down your hair from scalp to ends, grab the ends in between your fingers [and] give locks a little shake to define the individual curl patterns,” Gillen explains.
Use clips: One of the most challenging things about air-drying hair (aside from the frizz) is stubborn parts and strands. If you’re training your hair to part a new way or have a pesky cowlick, using some no blend clips to pin your hair to your head can help keep everything in place while it dries. Once it is dry, hair should stay in position.
How to Protect Your Hair When Heat Styling
While you might skip the blow dryer, air-drying doesn’t necessarily mean straying from heat altogether. If you want to add in a soft wave or straighten strands, you can reach for hot tools post-air dry. But, before doing so, there are a few things to consider. Gillen says the most important thing is to “never add hot tools to wet hair” as they can damage strands.
If you choose to top things off with some heat styling after air-drying the hair, a heat protection spray that can be applied to either wet or dry hair — such as SACHAJUAN’s Thermal Protection Spray — is key to protecting heat and adding shine, Gillen notes.

For those wanting to avoid heat styling altogether, an easy way to achieve quick texture is through braiding. To get the look, Gillen recommends separating the hair into four sections (one on either side of your face and two in the back) and applying a hair cream to your strands. From there, braid each section and let the hair air dry completely. When you take the braids out, give your hair a little shake for “a perfect, effortless beachy texture.” Similarly, if you have curly hair and want to avoid heat styling, you can set your curls with your fingers by individually twisting each curl tightly. Once your hair dries, take your fingers through your strands to fluff them up.
We only recommend products we have independently researched, tested, and loved. If you purchase a product found through our links, Sunday Edit may earn an affiliate commission.
