Before the pandemic, professional beauty treatments were one of my favorite indulgences. Manicures, full-foil highlights, and facials were all scheduled into my calendar as regularly as Zoom meetings are today. And while I’m thankful that my favorite salons rightfully shuttered their doors (and appointment books) at the start of the pandemic for the safety and well-being of everyone, I definitely went through a period of serious withdrawal. To cope, I decided to go on a little beauty adventure and try some at-home versions of my favorite professional treatments. Ahead, the best ones I discovered along the way.
1. At-Home Manicure Strips
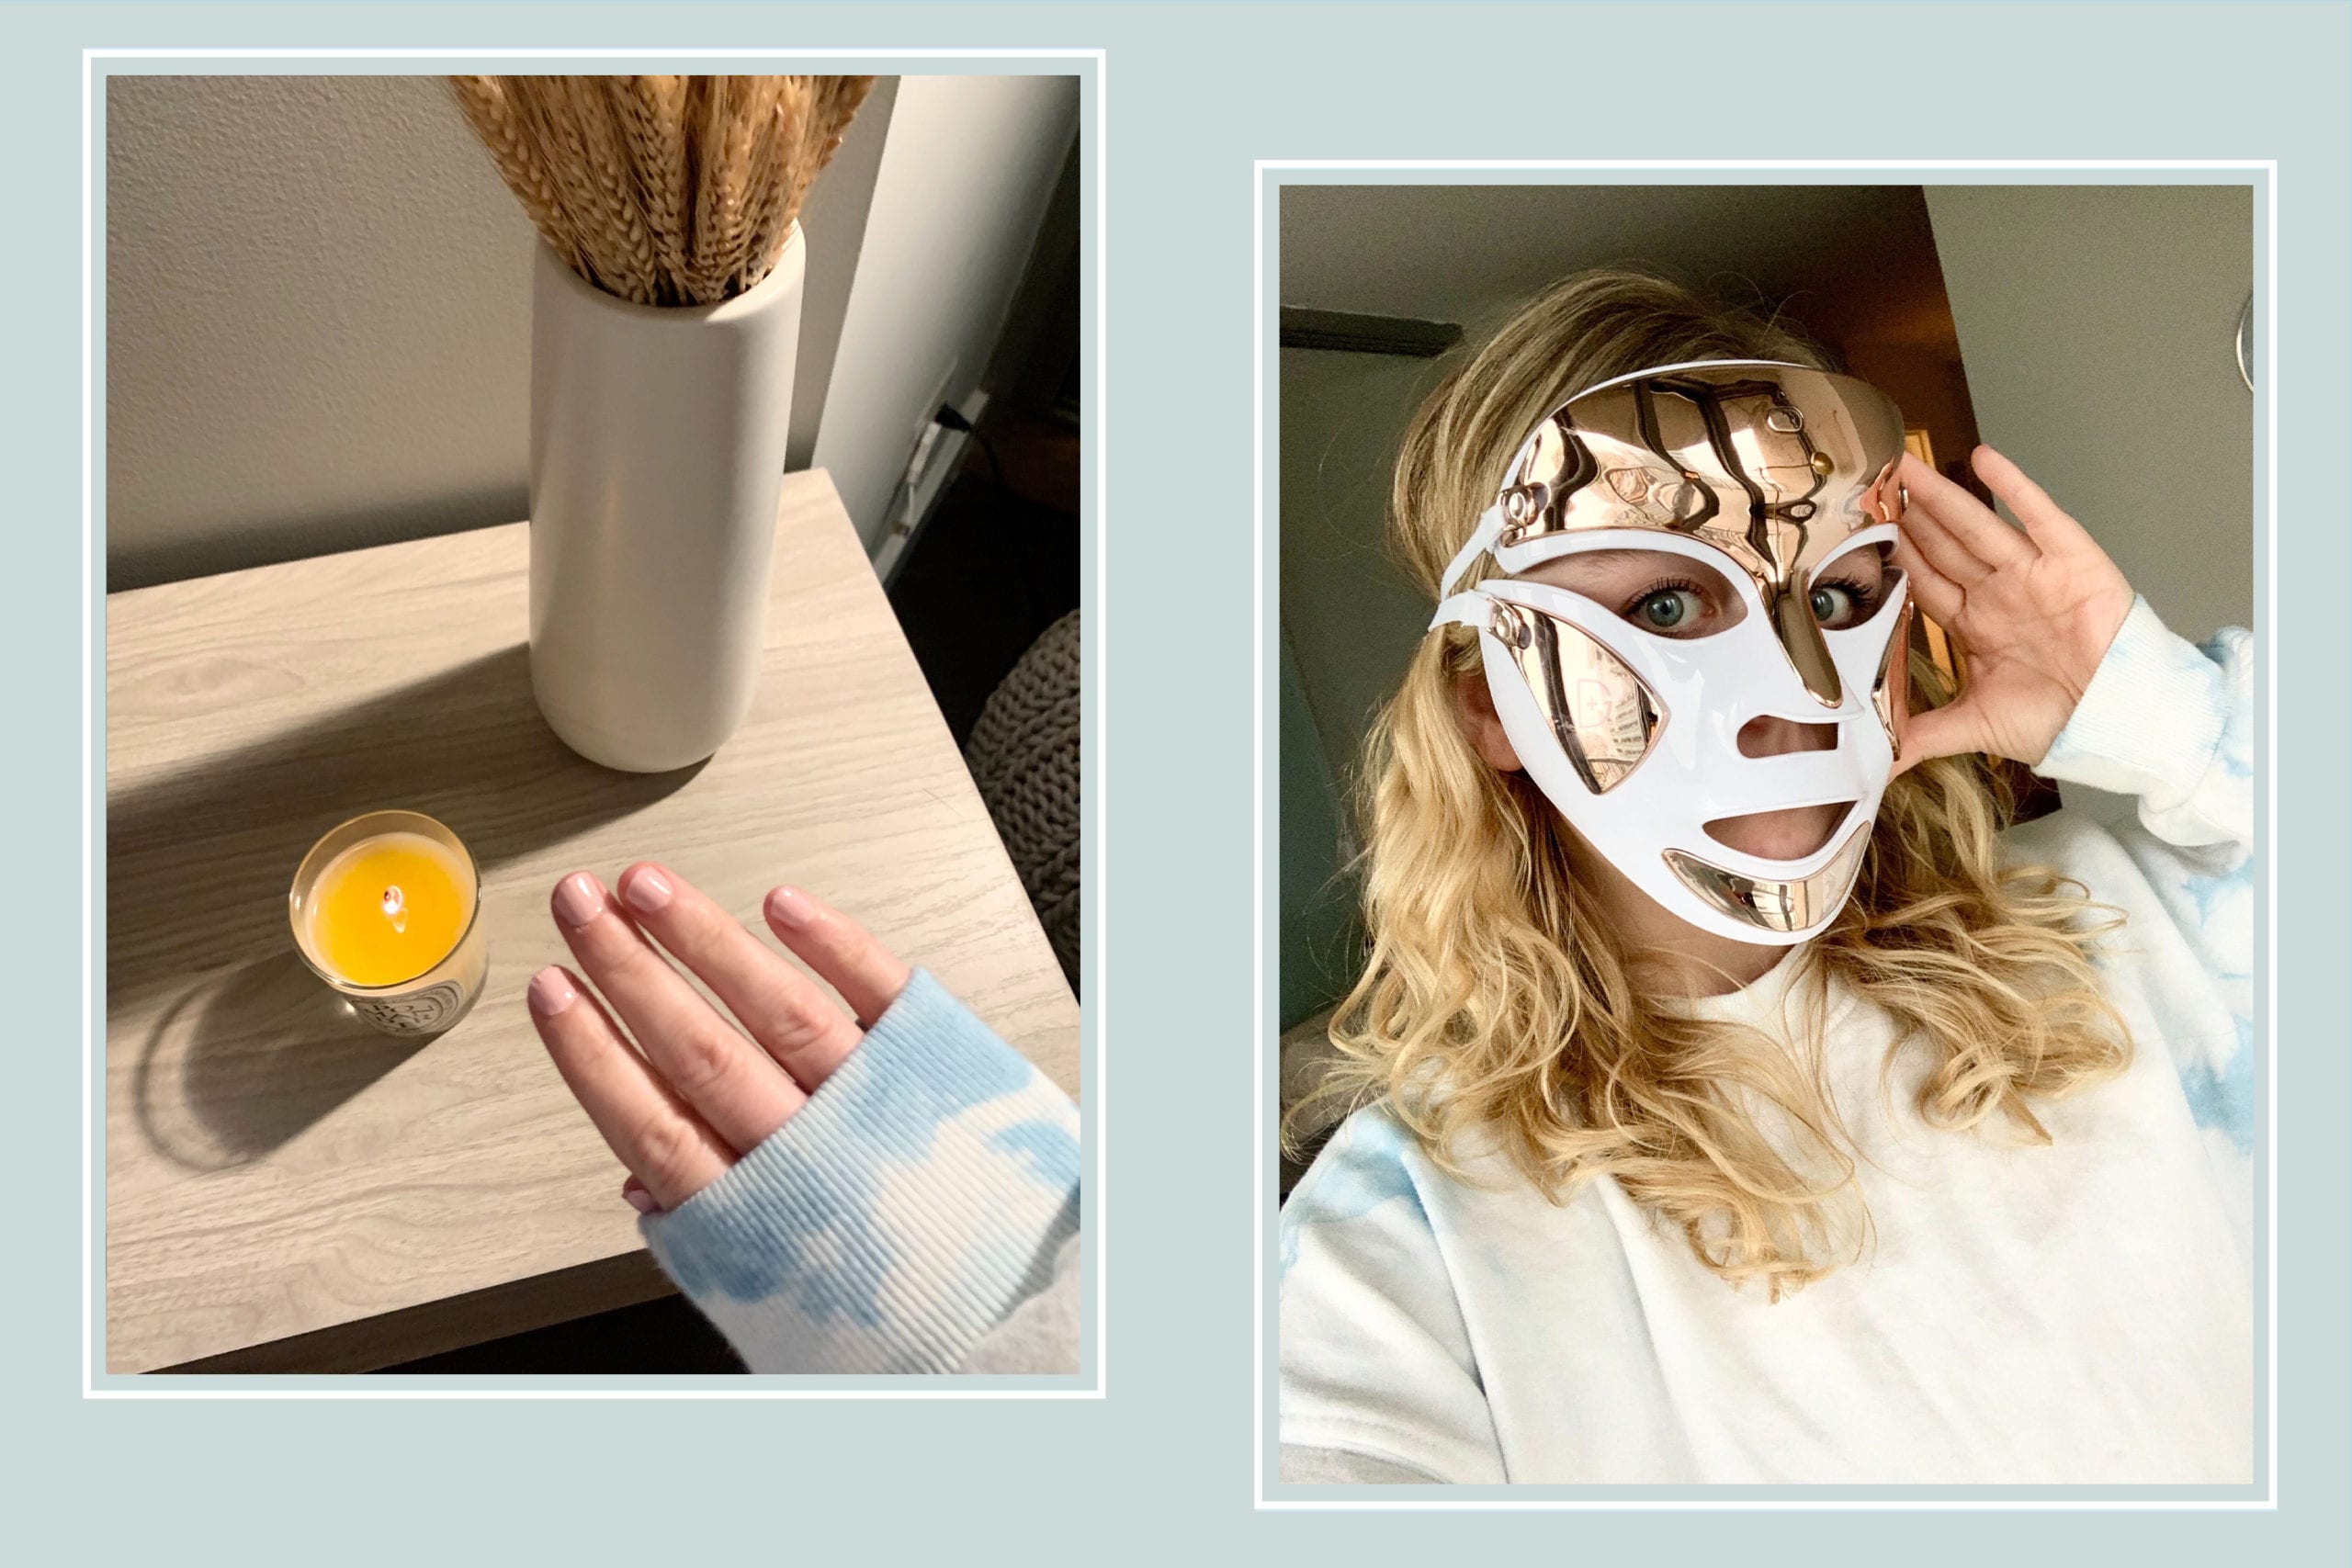
When salons first closed down in the wake of the pandemic, what I knew I’d miss the most wasn’t my hairstylist (even as a bottle blonde) — it was my nails. While I’ve tried for years to perfect my at-home manicure game, I lack the steady hand required to get the job done, so I’ve always frequented nail salons. But after a little research on alternatives to traditional polish, I stumbled upon these nail polish strips from Color Street. The product is exactly what it seems — these are strips made of 100 percent nail polish that you peel and stick onto your nails (then just file away the excess with an emery board). With some practice, these definitely look like a professional manicure, with a few caveats. Application is as easy as peeling and sticking, which means there’s no messy liquid polish.

However, despite the variety of strip sizes that come in a package, I couldn’t find a perfect fit for a few of my nails, which are naturally more square-shaped (as opposed to these rounder-ended strips). So inevitably, there are some teeny tiny bare patches at the bottom corners of my nails. I’ve tried these strips a few times now and also found that they’re very difficult to apply to short nails; your nails need to be long enough that you can wrap the strip over and under the tip of your nail in order to make filing away the excess easier (and to get a longer-lasting result).
It takes some practice to get the application right, but after three applications these strips are definitely faster than painting your nails with traditional polish, especially when you consider the time it takes to apply the topcoat and let your nails dry.
So on short nails (like mine), the strip would bunch a bit at the tip once I started filing. Next time I may try ManiMe — using your phone, you take 5 photos of your hands (they will 3D scan the nails to
custom fit your manis), choose the design, and made-to-order set of stick-on gels should arrive in 2-4 business days.
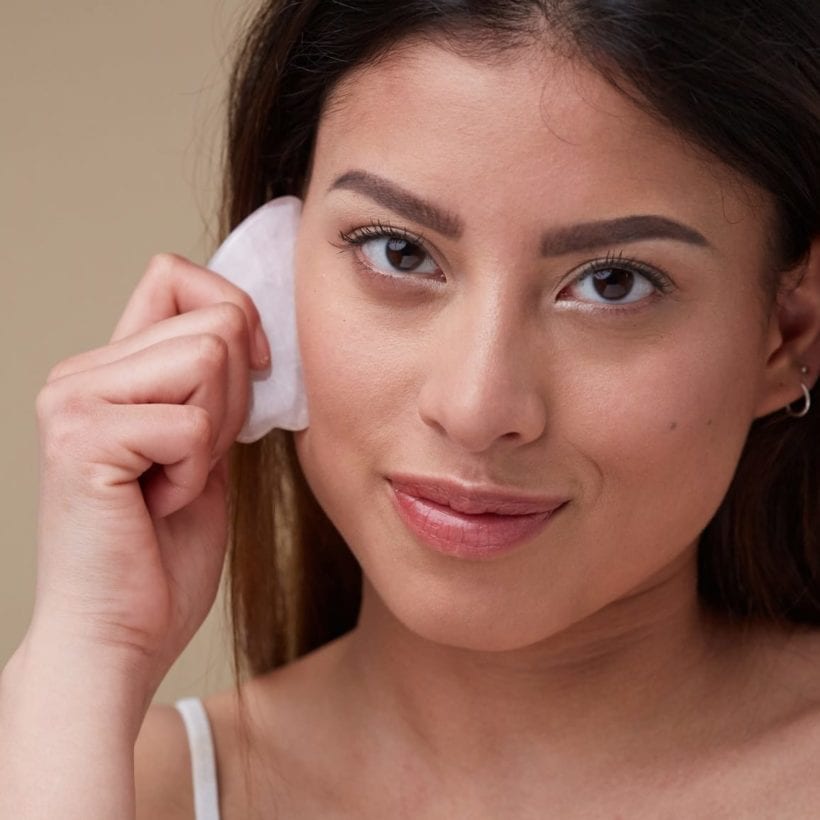
2. At-Home Dermaplaning
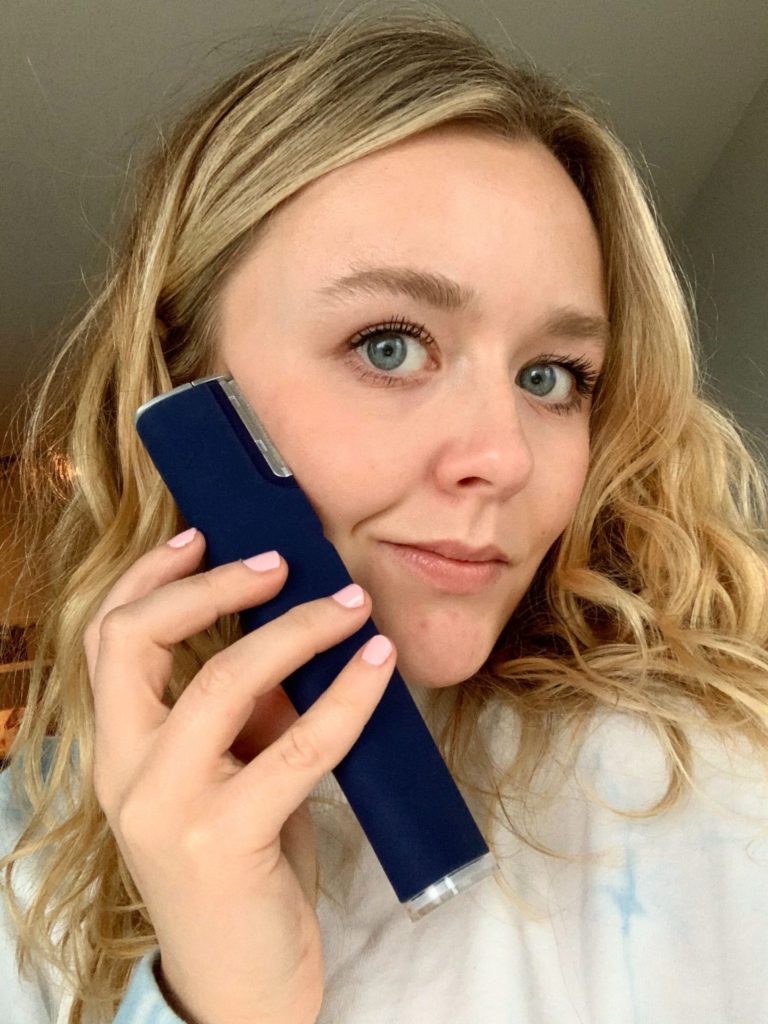
Dermaplaning is one of my favorite treatments to request during facials, so as soon as my beloved facial spa made the announcement that they’d be temporarily closing down, I decided to take an at-home dermaplaner for a spin. I opted for the Dermaflash Luxe, which is known for its quality dermaplaning edges (they won’t rust or chip) and varying vibration speed settings, which create a more customizable experience. I fell in love with this product right away. In less than two minutes, it creates the exact result that I achieve from professional dermaplaning treatments. On dry skin, I simply pull my skin taught and work the device against the grain of hair growth in quick, upward, sweeping motions. The result is skin that’s baby smooth and completely cleared of peach fuzz and dead skin cells. My skin immediately looks brighter and smoother and creates the perfect canvas for skincare to be absorbed more effectively (and for makeup to go on smoother).
3. At-Home LED Therapy
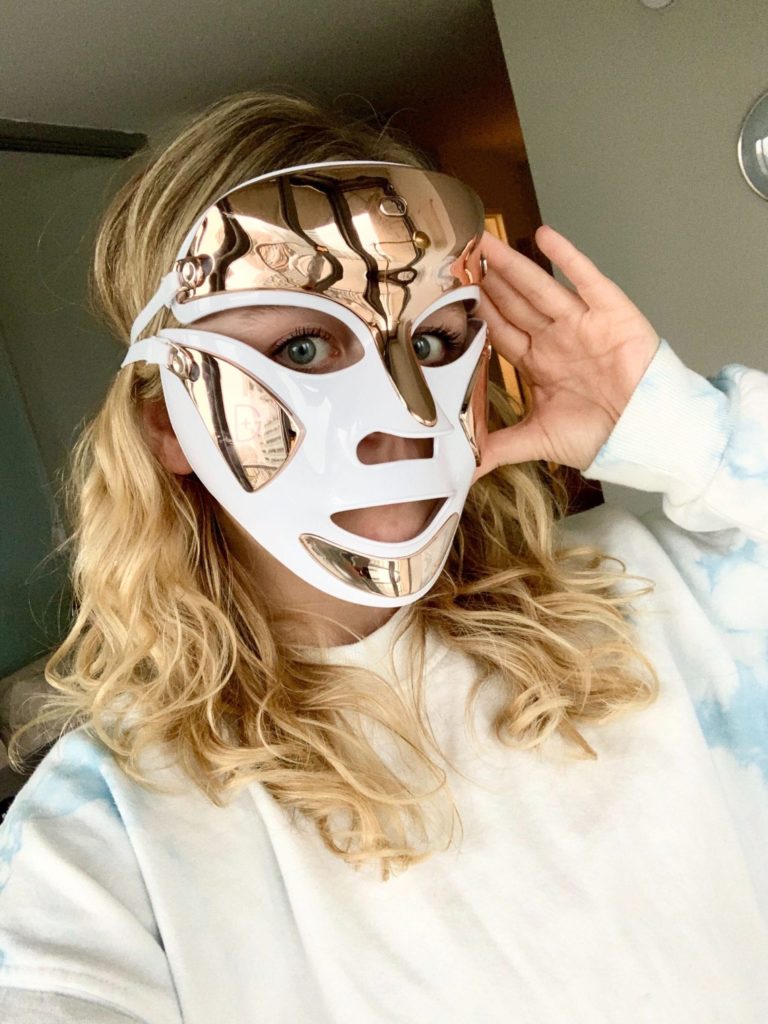
LED therapy is another favorite treatment of mine that I knew I’d have to give up when things started temporarily (and rightfully) closing down due to the pandemic. And as someone who has been experiencing the unforgiving grip of maskne, this product has become a staple in my routine. The mask features both anti-aging red light and acne-fighting blue light, which kills acne-causing bacteria. I’ve used the blue light feature on this product consistently for two weeks now and my mask-related breakouts around my mouth and chin have all cleared up — and I don’t have any new breakouts on the horizon. At $435 this product is definitely an investment, but if you were regularly receiving LED treatments before facialists closed down, it’s only the cost of about three LED facials.
4. At-Home Brow Lamination
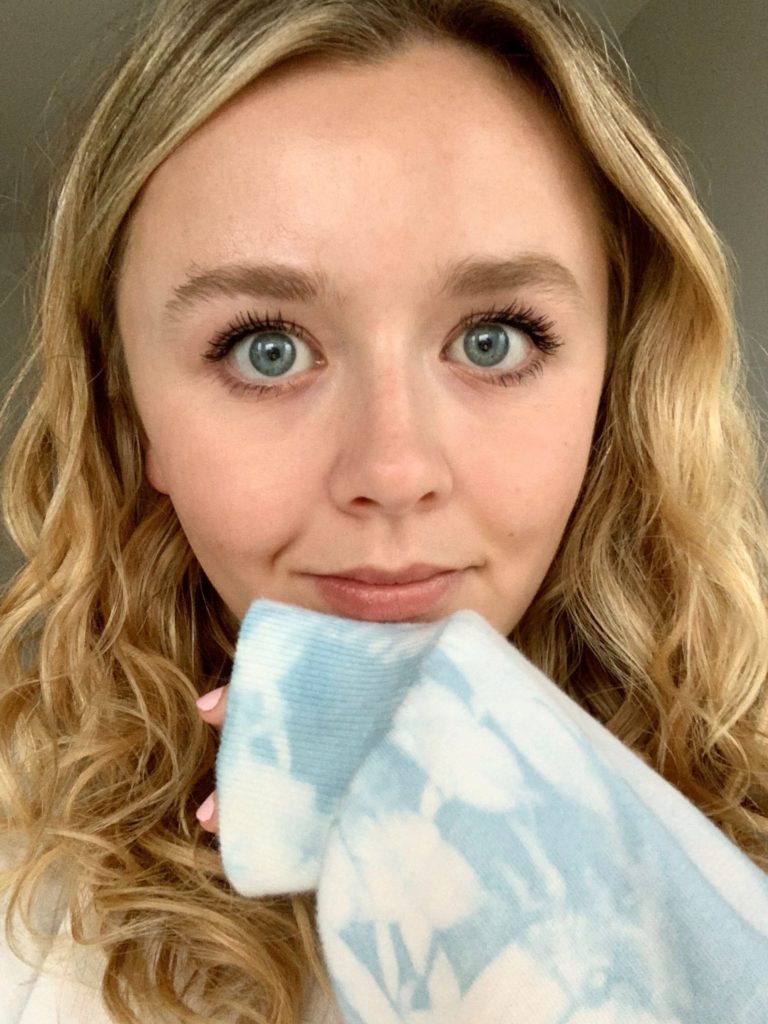
My brows are fairly full and pigmented. But where I’m blessed with volume, I lack shape. As a beauty editor, I’ve tried practically every single brow gel and wax on the market and nothing seems to hold my brows in a fluffy, brushed-up position — except for brow laminations. If you’re unfamiliar with brow laminations, they’re essentially a brow treatment that raises and straightens your brown hairs, creating the brushed-up, model-esque appearance. Unlike microblading, brow lamination doesn’t involve depositing any pigment into the brows. So when I stumbled upon this at-home lamination kit, I couldn’t get it on my brows fast enough. The process was fairly simple, and the payoff was comparable to what I’d get in a professional salon. The process is broken into six steps and took me about 20 minutes to complete: cleanser, brow glue, the perm formula, covering the brows with plastic film for 10 minutes, the fixation formula, and the post-lamination nutrition formula. I laminated my brows one at a time so you could see the before and after right next to each other — in the above image, my left brow is laminated and my right brow is unlaminated. I’ll never pay for professional brow lamination again. Important: make sure you complete a patch test with each of these formulas before coating your brows; everyone reacts differently to chemical products and it’s better to be safe than sorry. When in doubt, defer to your dermatologist.
We only recommend products we have independently researched, tested, and loved. If you purchase a product found through our links, Sunday Edit may earn an affiliate commission.